Safe Exterior Wash & Drying Methods
Preventing swirl marks and micro-scratching is our ultimate priority during the exterior washing phase.
The Science Behind Safe Washing
Most paint swirls and fine scratches are introduced by incorrect contact washing techniques. Dragging a dirty sponge across paintwork grinds gritty particles back into the clear coat, forming fine webbed patterns visible under direct sunlight. Our exterior wash process utilizes a strict order of operations to prevent this.
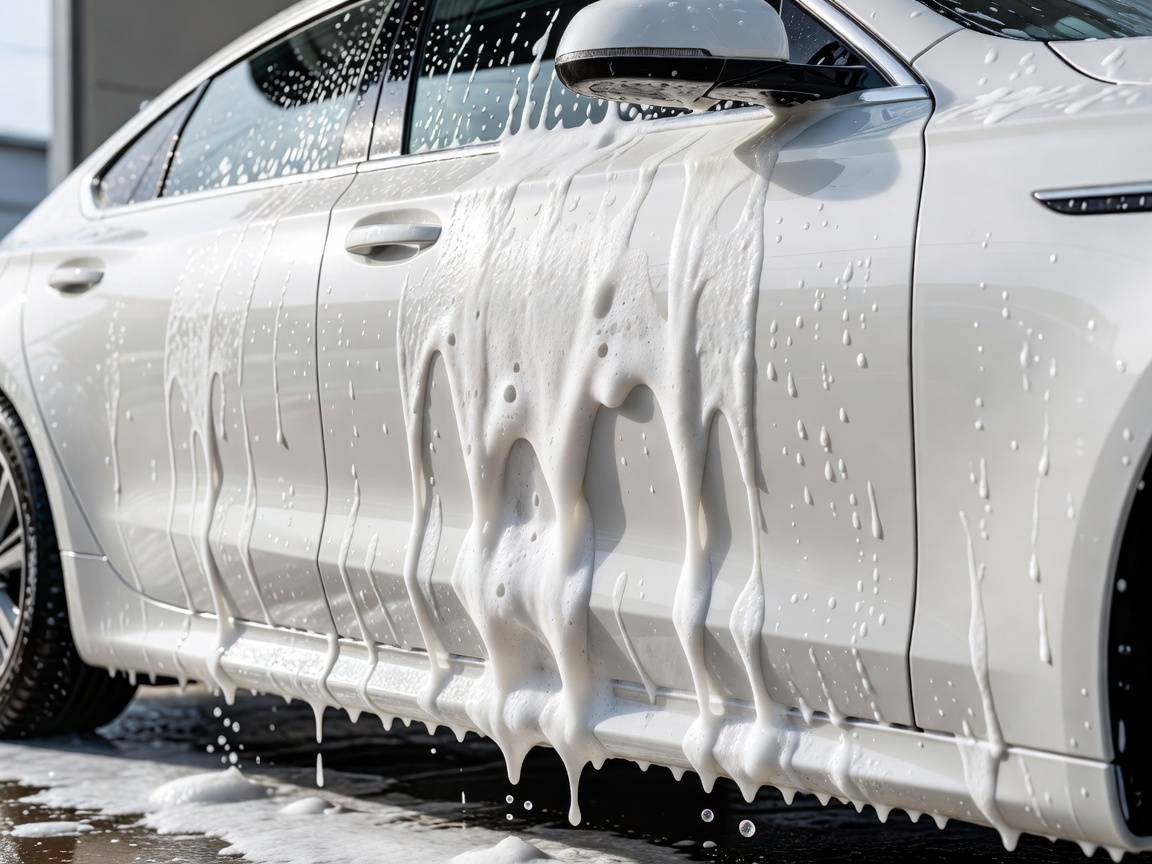
1. Touch-free Pre-wash & Snow Foam
Before any wash mitt touches the panels, the loose grime, road silt, and fine sand must be gently softened. We coat the vehicle in a rich, pH-neutral snow foam designed to bind to surface contamination, letting gravity pull dirt down and off the car body.
2. Thorough Rinse and Arch Flushing
Once the foam has dwelling time, we pressure-rinse from bottom to top to peel the lifted grime layers off. During this stage, we pay careful attention to flushing out mud deposits from behind inner wheel arches, a frequent moisture trap on UK roads.
3. The Two-Bucket Hand Wash Method
We use a multi-mitt, two-bucket approach. Bucket one contains clean wash solution; bucket two is filled with clear rinsing water. Both buckets contain grid inserts (grit guards) to trap heavy particulates at the very bottom. Every hand pass across a panel is followed by a thorough mitt-rinse to keep washing tools clear of abrasive dust particles.
4. Safe Air Drying & Microfibers
Water marks are often caused by drying hard water on hot panels. We dry cars inside our bay using soft, heavy-grade microfibers that lift water drops gently, supplemented by low-pressure warm air blowers to sweep away water trapped behind window seals, badges, and mirror cases.